‘Bat’ Bow Tie Collection

Introducing our unique ‘bat’ bowtie collection. It’s the bow tie you deserve but not the one you need right now. 😀

So these would make a perfect gift for a loved one. As it is, it is really difficult to find a nice gift for a guy but not anymore!

We have two designs in this collection as of now; one self tie and one pre-tied. It took a lot of thinking and hard work to come up with these two designs. Absolutely love them and very proud of them!

Self tie 

batbowtie1
Self tie ‘bat’ bow tie

Pre-tied

batbowtie2
Pre-tied ‘bat’ bow tie

Both our bow ties in this collection have adjustable buttons at the back.

batbowtie22
Adjustable buttons at the back

All our bow ties are delivered in pretty packages like this one.

batbowtie23.jpg

E-mail at kanikakadam.official@gmail.com for orders and enquiries.

We would love to know what you think about our ‘bat’ bow tie collection. So please like, comment, share! Cheers!

#batbowtie #bowtie #bowtieaddict #mensfashion #menswear


Handmade Floral Skirt

Hi Guys, here’s presenting the lovely knee length handmade A-line FLORAL SKIRT! Yes, it’s up for sale!

This slideshow requires JavaScript.

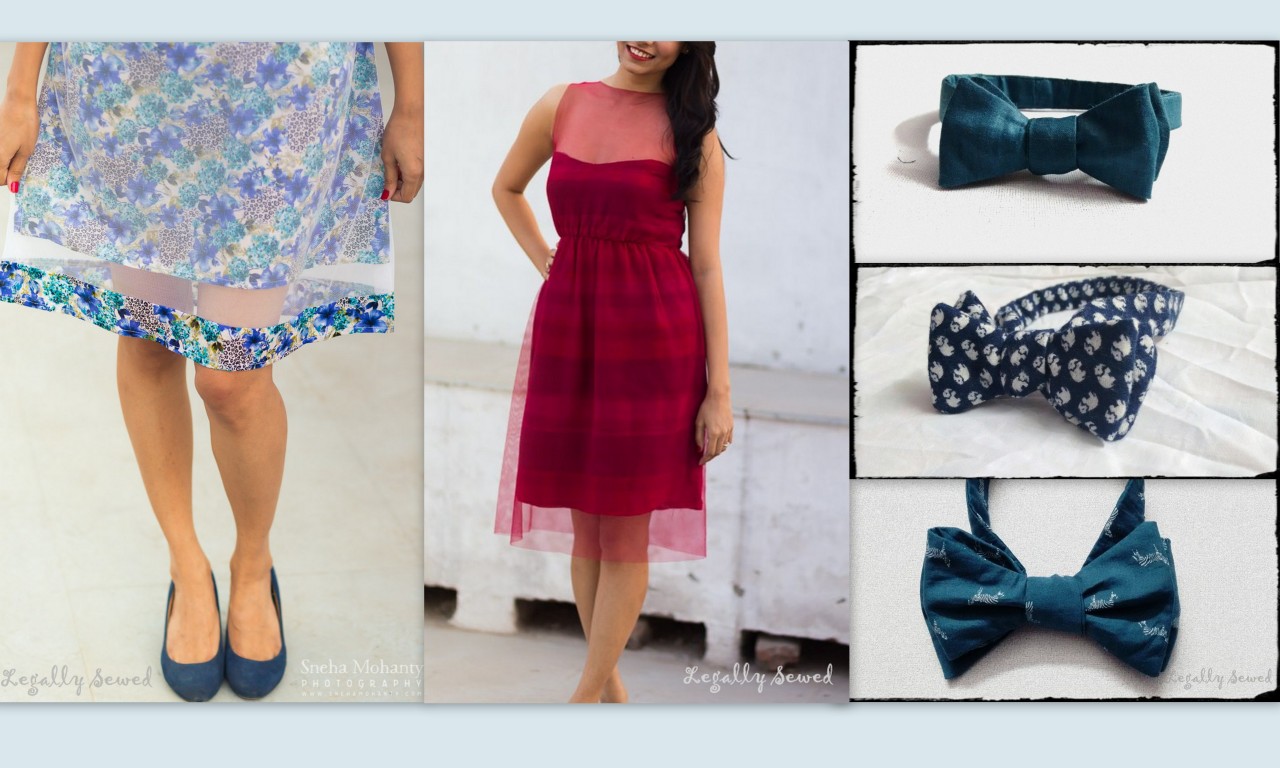
When I got this fabric, I had no idea what to make out of it. A few weeks down the line, I took it out again and I just knew what I wanted to make out of this bright and lovely flower print! The cotton material is really soft and so is the white net fabric. I love wearing net and so I really wanted to make something combining my print and net fabrics which will look different and pretty without hiding the bright blue print of the cotton fabric. I finally decided to make this skirt with the net on top and leaving only the print at the bottom.  It worked out quite well I think!

Only a small size is available for this but the skirt has an elastic waistband so it can fit waist size 26 to 30 inch easily.

Best paired with: A white collar blouse will look great with this skirt. I didn’t have too many options for a white top at the time so I had to settle with the plain white T-shirt which looks good too but I wanted a while blouse so I could click this skirt with the MATCHING BOW TIE!

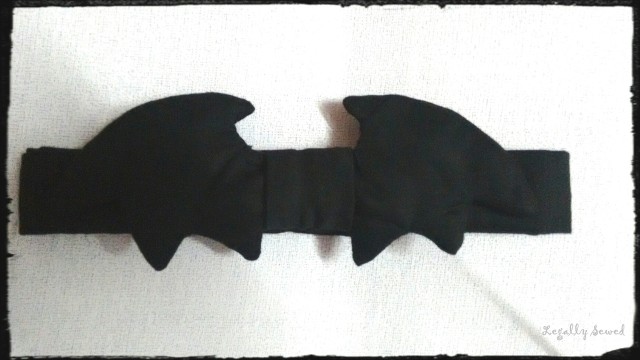
Yes, you heard me right. With the cloth that was leftover I made a matching bow tie which can be worn with the skirt or on its own. I hadn’t seen any floral bow ties available on the internet and especially not for women. I decided it was time for women have their own beautiful print bow ties!

This slideshow requires JavaScript.

I envisioned a fun bold girl going out in the day wearing the skirt, a white collar blouse and the bow tie. Can you imagine how great that will look!? Another option is to make your man wear the matching bow tie the next time you go out. Some men may not agree with the flowery print bowtie but I think it will look good.

I’ll leave you with that thought now. Remember, these items are available for sale and the information is provided below. Not interested in buying? No worries, we would still love to know what you think of this skirt or this bow tie or this combination? Waiting for your feedback. 🙂 And if you do like it, don’t hesitate to share the love! ❤

Sale Information

I am looking for someone who would love to wear it as much as I loved making it. The same design of the skirt can be custom made for you in a print of your choice! Please e-mail at kanikakadam.official@gmail.com to place your order or for any further enquiries.

Presently, we are offering an off season discount of 30%. So this is the perfect time to grab this piece!

Prices for Indian buyers

Skirt: Rs. 1050 (Original price Rs. 1500) + Rs. 100(shipping)
Bow Tie: Rs. 770 (Original price Rs. 1100) + Rs. 100(shipping).
Additional Rs. 150 off if you purchase both items making it Rs. 1670 + Rs. 100(shipping).

Happy Shopping!

A very big thank you to Sneha Mohanty Photography for the lovely pictures of the skirt! She also does baby photography, pre-wedding shoots, engagements etc. Do check out her facebook page and instagram account.

Bow Tie

Ever since I started sewing, one of my friends really wanted me to make him a bow tie but I was always too scared to make it. I searched for tutorials online and found a few (Here.. this is the best one i found). It didn’t seem that difficult at first. A few months back I tried to make it but it didn’t work out at all. I realised that the cloth I was using was too thin and fragile and would fray everytime I would try to turn the bow tie inside out. I did a little more research on it and decided to give it another shot. This time it worked! This is how it looks. I’ve made a few more after that. It is true what they say- “Try and try till you succeed“. My friend really likes it so mission accomplished!

This slideshow requires JavaScript.

After my research on bowties, I have fallen in love with them. They are amazing. Can you believe they have been around since the 17th century! They give a person a classy elegant look and just uplift the entire outfit to a whole new level. The self tie bowtie is the most classy bow tie. You can go for a clip on but it just does not match up to the self tie. You can wear it for any wedding or a party. If you want to spice things up a bit, the men from the groom and/ or the bride’s side can go for same bowties with a funky pattern. The groom’s buddies can also wear bow ties for the bachelor party. There is no end to the occassions where you can carry off this little classic piece!

After I was done making my bow tie I had to learn how to tie it. If you don’t know how to tie it, here you go. Again, it looks so easy but I found it really hard to tie it on me and in the end I finally managed.

Here are a few things I wish i knew or had paid more attention to while making my first bow tie. These may help you along the way if you wish to make your own bowtie.

  • Bowties are best made with silk or cotton.
  • Try to use a thick cotton cloth for your first try.
  • Don’t be lazy. Use interfacing or lining.
  • While turning the bow tie inside out, scrunch up the sides first and use a stick or pencil to push the sides inside out, one at a time.
  • Using a chalk, trace where you will be sewing and then sew on that line. This makes it easier to keep the curves on both ends symmetrical and makes sewing a lot more easier.
  • Be patient.
  • Do not make the opening (from where you will pull out the right side of the bowtie) too small. Make sure there is enough space for the entire fabric at the end to pass through.

IMG_20160127_172420118.jpg

If you are all ready and excited to make your first bow tie, best of luck! Let me know how it turns out. If you don’t sew, then go and get a bow tie for your next function! Cheers!